
Appearance
Live Capture
Live Capture lets you scan a physical document with your camera and get the text out of it right away — useful for receipts, invoices, ID cards, and printed forms.
TIP
OCR (Optical Character Recognition) is the technology that reads text from a scan or photo and turns it into text you can edit, search, and copy.
Before you start
Live Capture needs access to a camera — your computer's built-in webcam, an external USB camera, or a virtual camera device. Your browser will ask for camera permission the first time you use it.
Scan a document
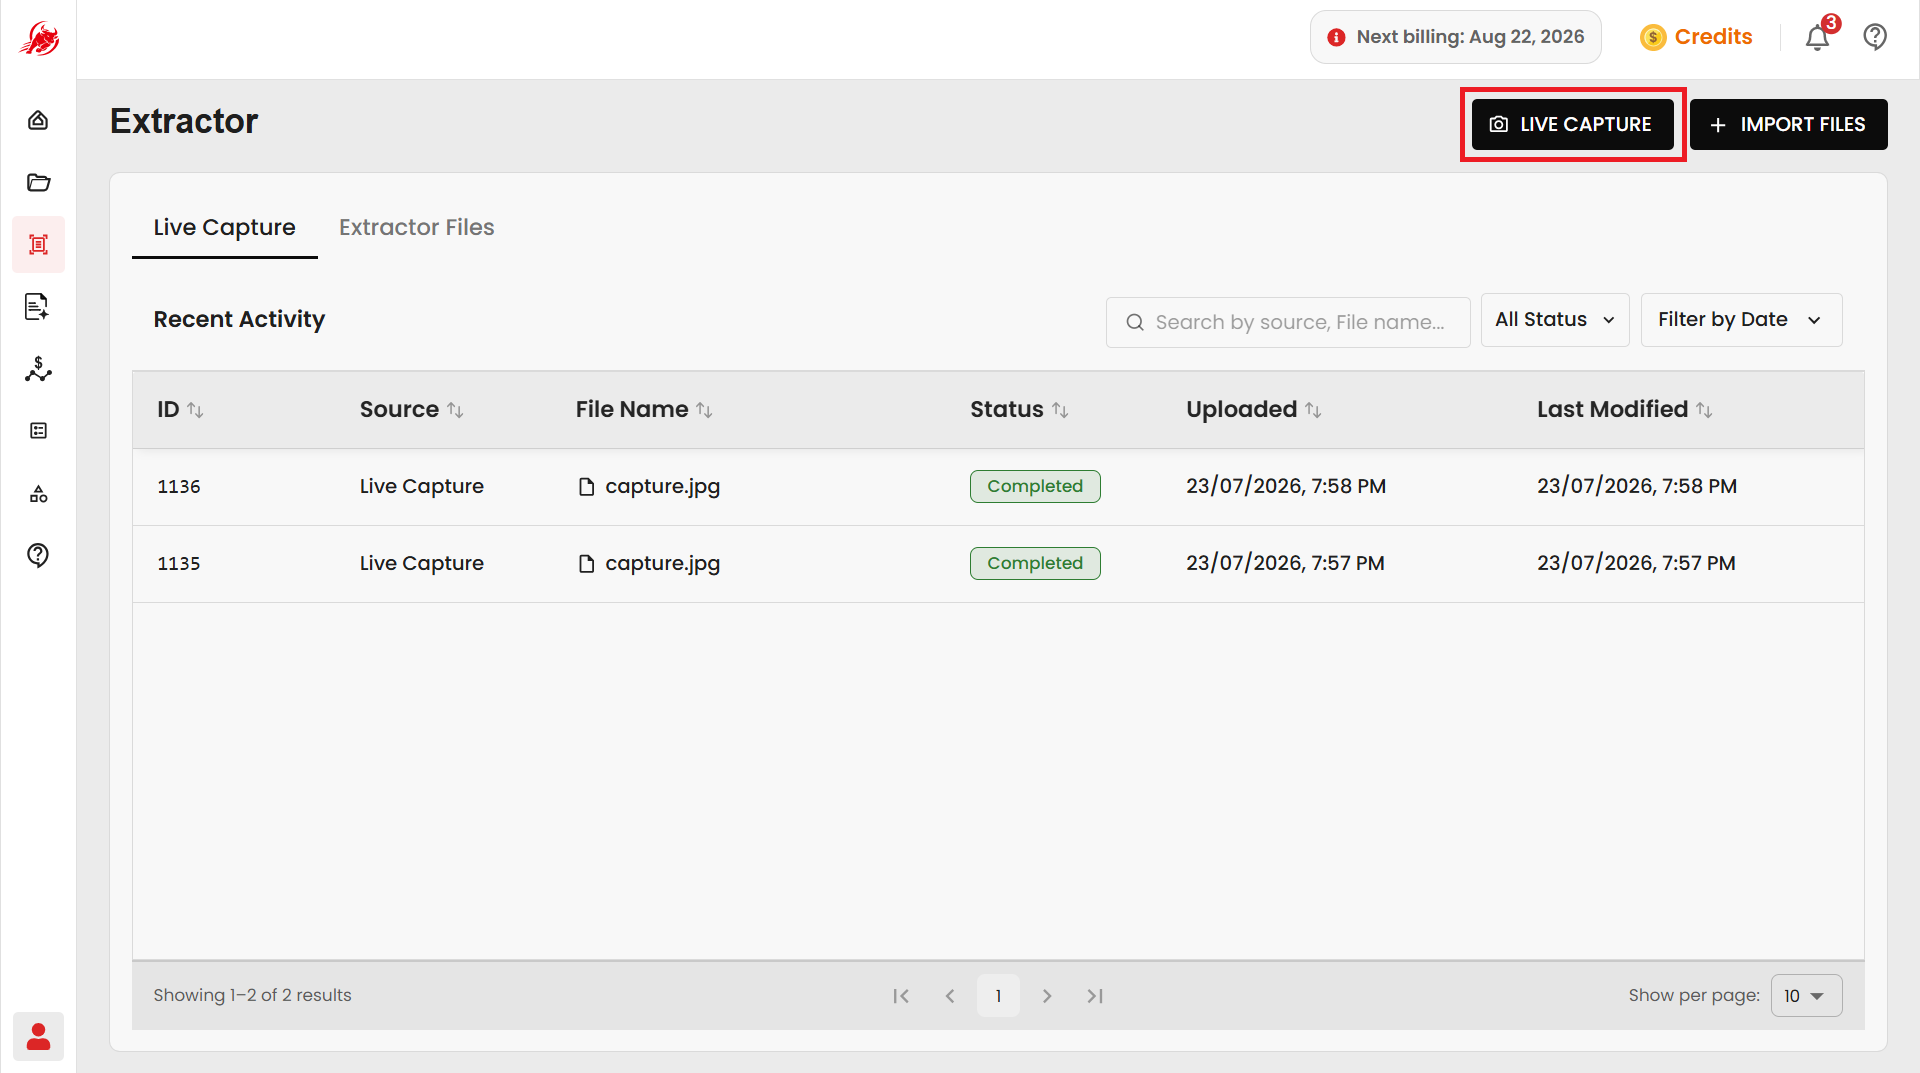
In the Extractor module, click Live Capture and allow camera access when prompted.
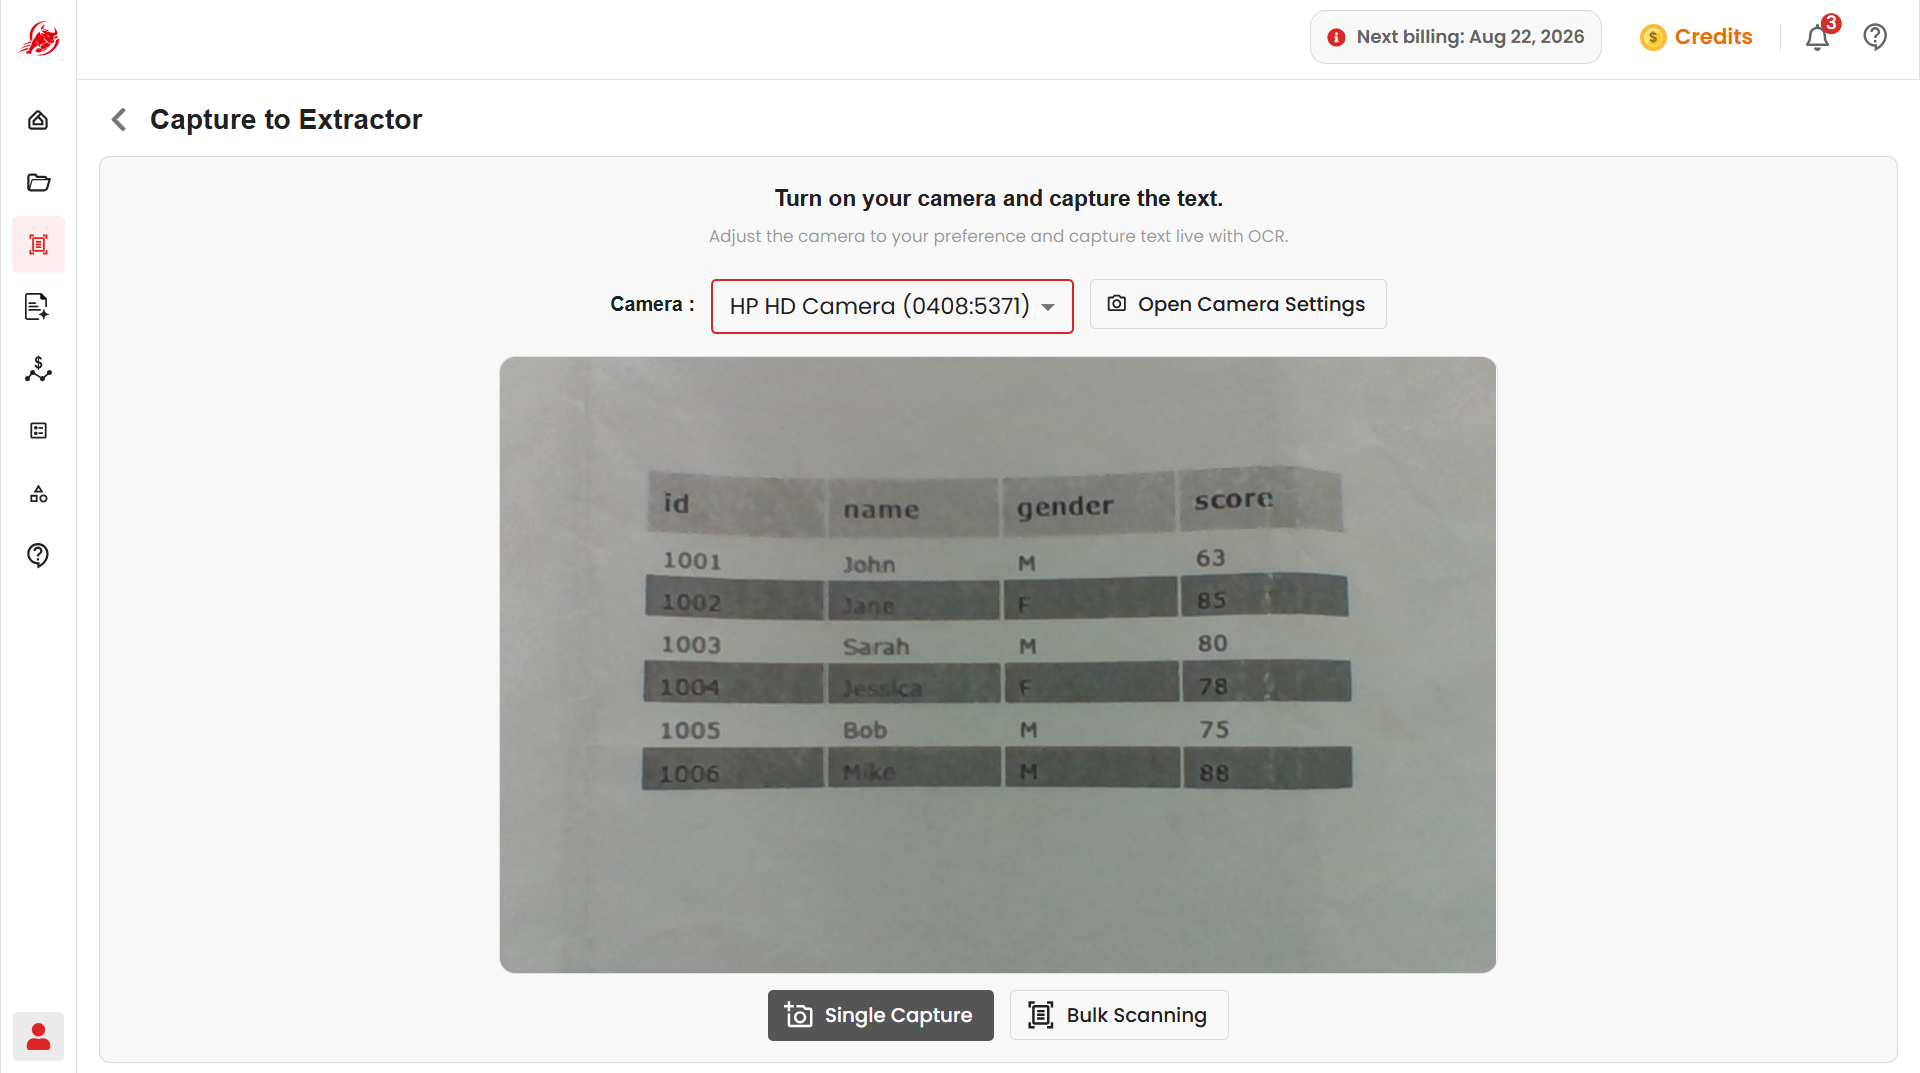
Choose which camera to use from the list of available devices.
TIP
Use the highest-resolution camera available — a sharper image gives more accurate results.
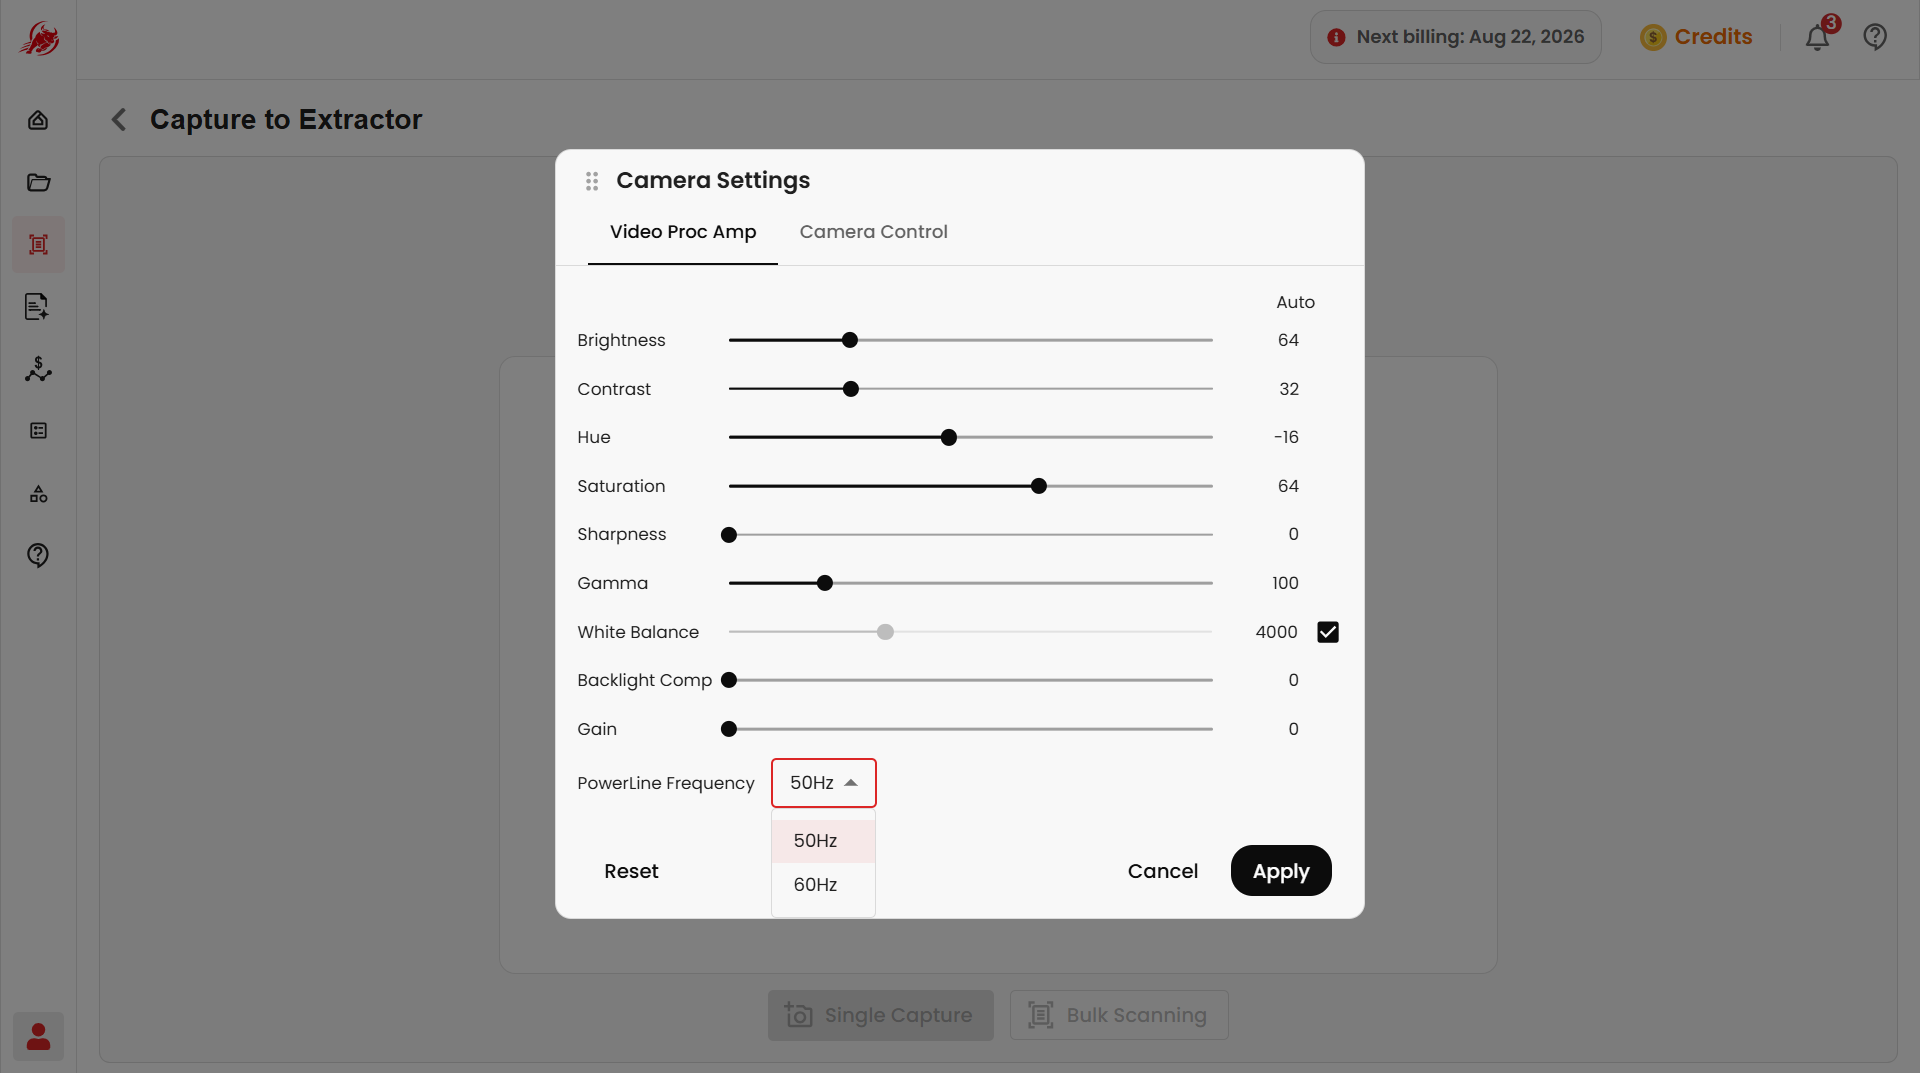
(Optional) Adjust the camera settings — brightness, contrast, sharpness, focus, and alignment — for a clearer picture of the document.
Position the document in front of the camera and click Single Capture. Regoxa detects the document's edges and extracts its text automatically.
Scan multiple pages at once
Use Bulk Capture to scan a stack of pages without clicking for each one.
- Start Bulk Capture. Regoxa automatically takes a new capture every 10 seconds.
- A countdown and a running page count show your progress.
- Click Stop once you've captured every page.
Each page is processed for text as it's captured.
Review the extracted text
The text Regoxa reads from your document appears in a panel on the right and updates as you scan.
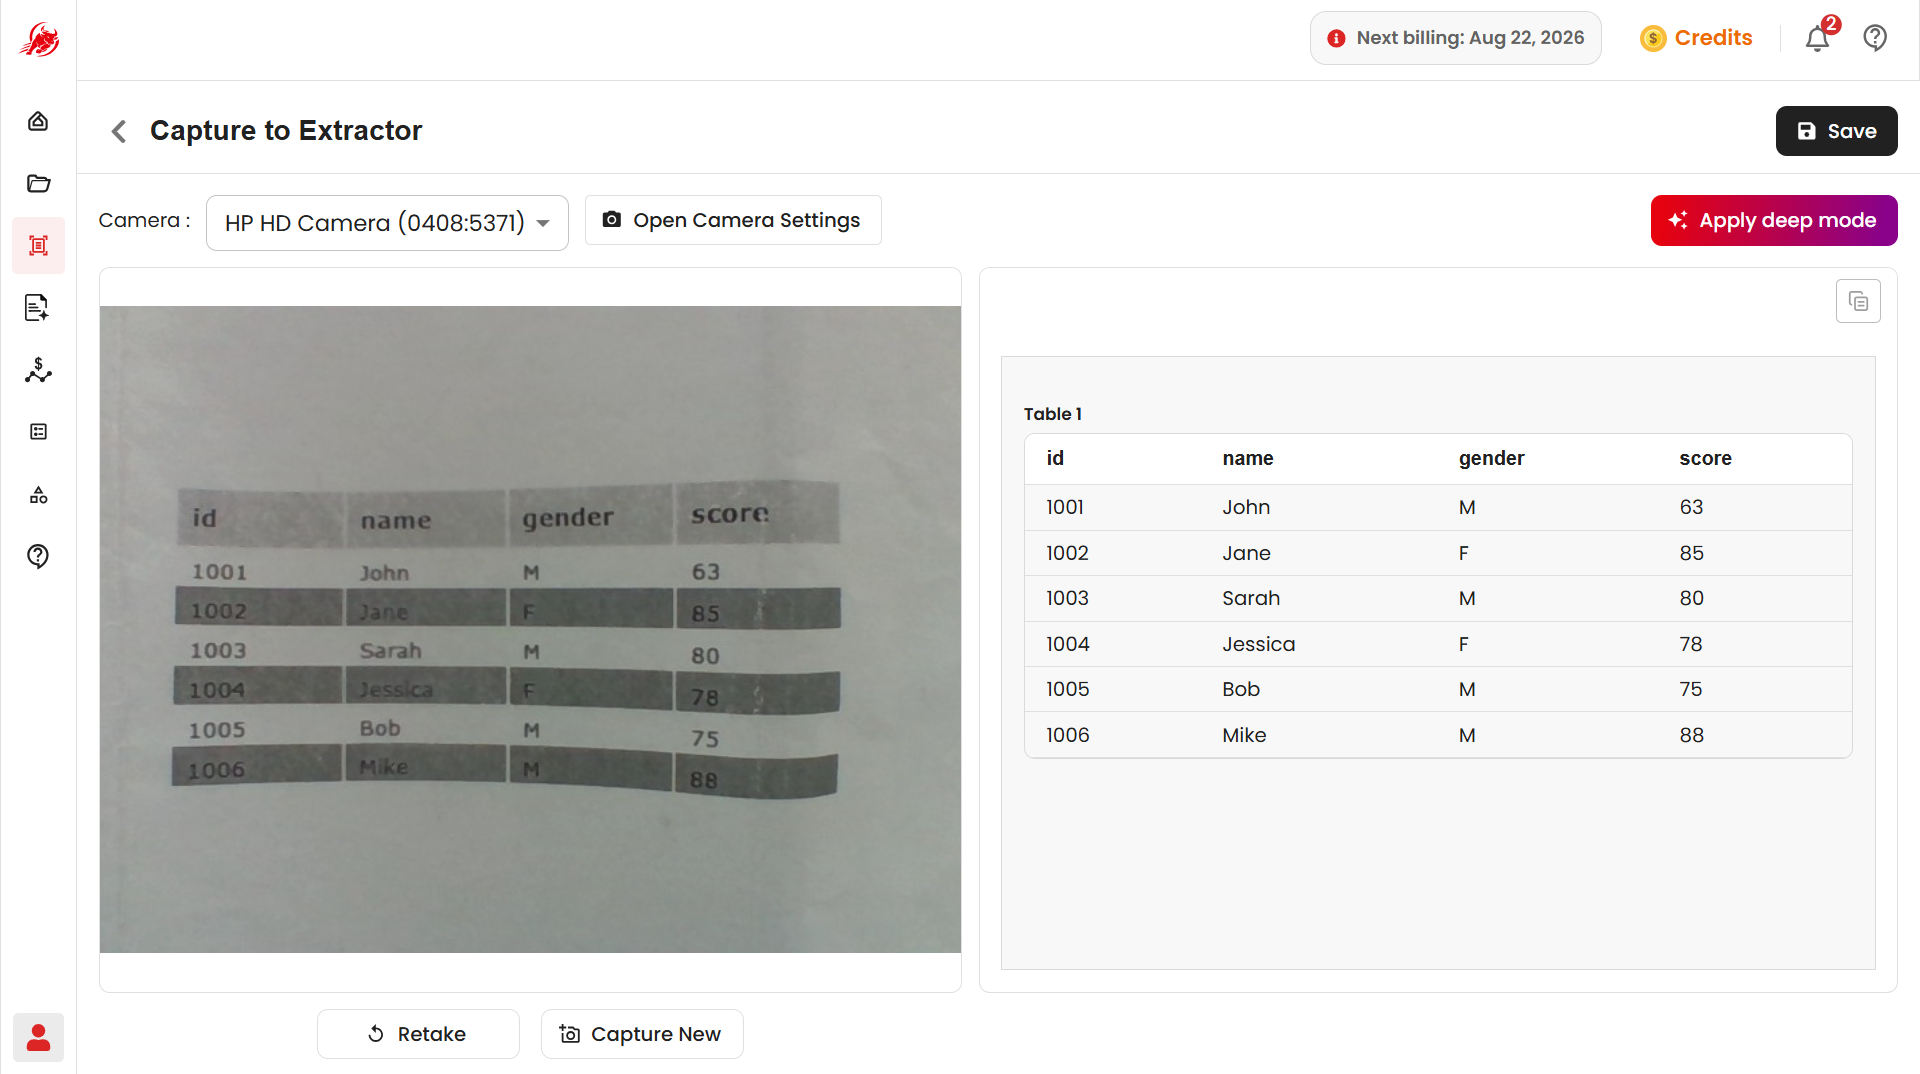
- Click Retake to re-scan the current page.
- Click Capture New to start scanning a different document.
- Click the Copy button to copy the extracted text.
If you used Bulk Capture, use the page navigation to review each captured page.
Improve accuracy with Deep Mode
Deep Mode re-checks the extracted text for common OCR mistakes — like mixing up the letter "O" with the number "0" — and cleans up dates and numbers. Turn it on for documents where accuracy matters most, such as invoices or legal paperwork.
Save your results
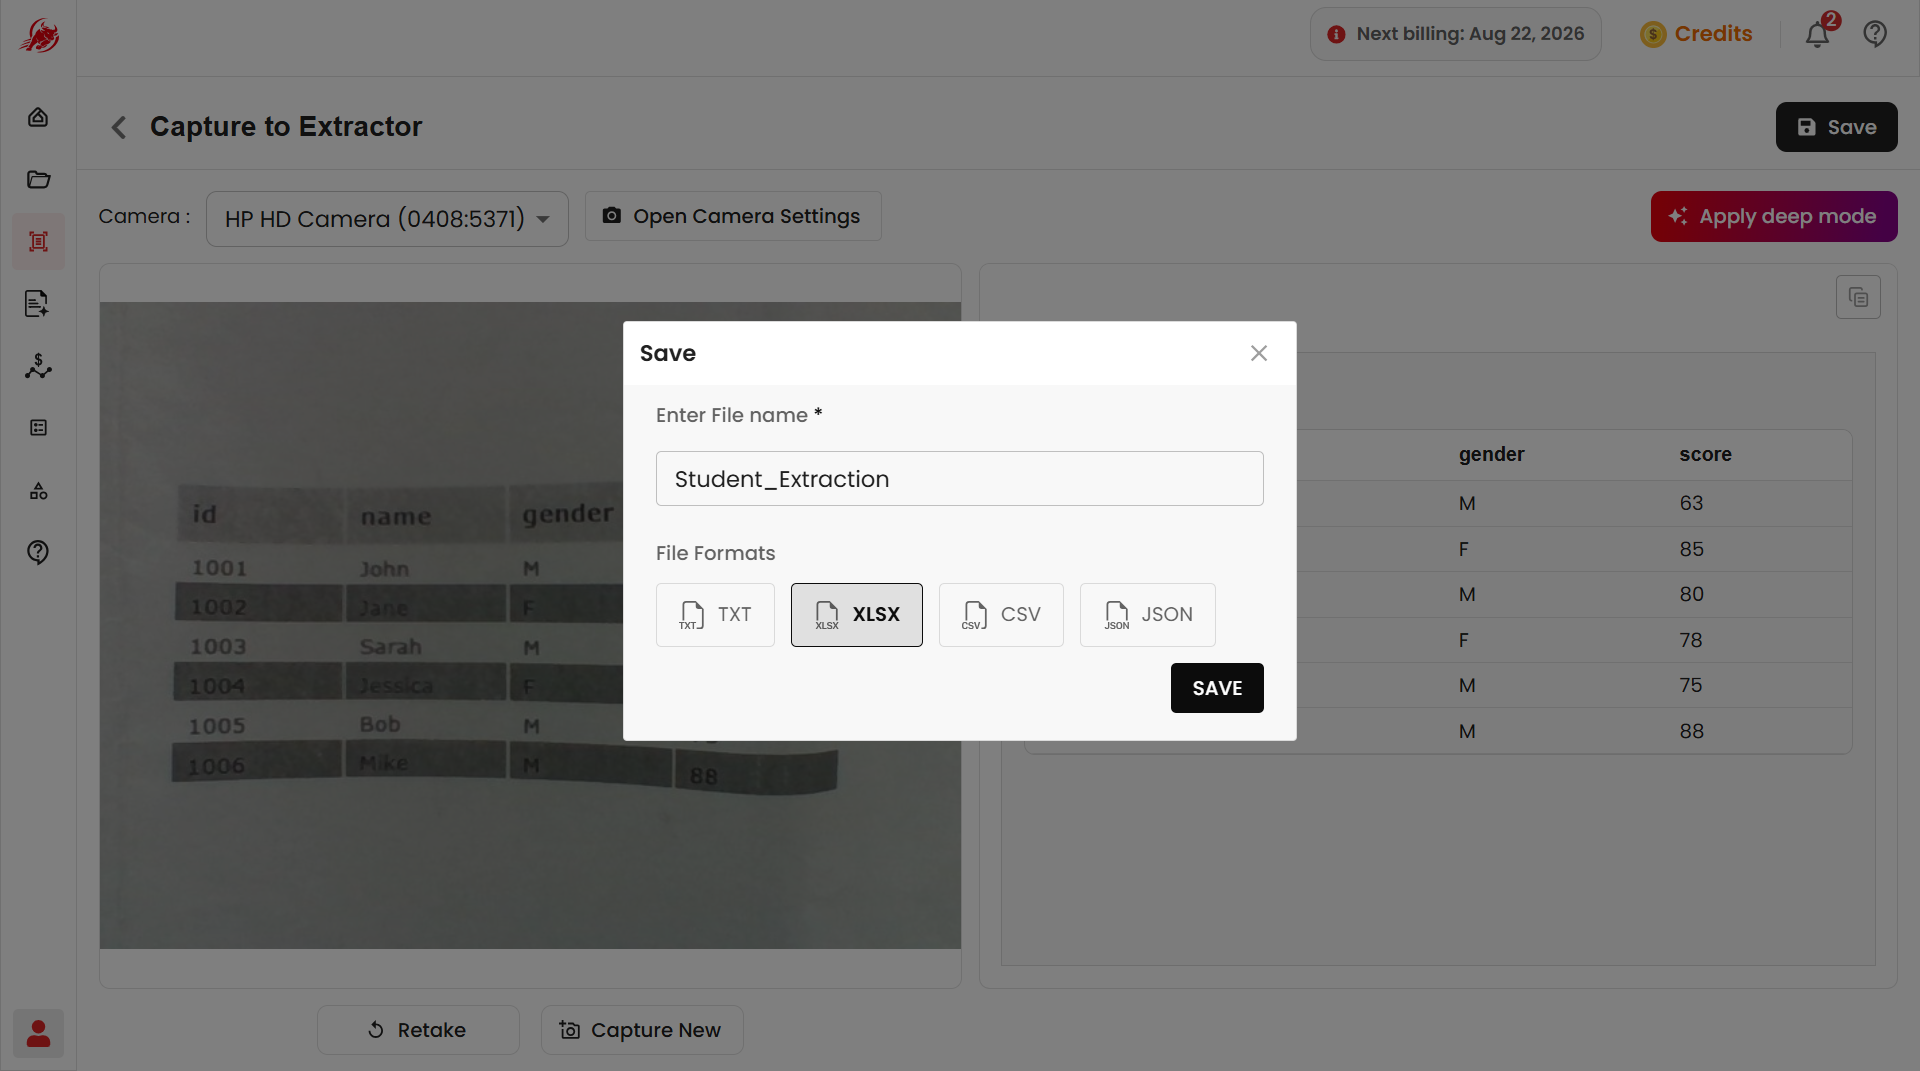
Click Save, then choose a file format — TXT, XLSX, CSV, or JSON. Saved files appear in your Workspace.
Tips for better scans
- Scan in steady, even lighting
- Keep the document flat and the camera still
- Avoid tilting or rotating the document
- Turn on Deep Mode for financial or legal documents
Next steps
- Extraction — upload existing documents instead of scanning them with a camera
- Template — create a reusable template for structured field extraction