Appearance
Manage Templates
Create a template
1. Start a new template
Go to the Template page and click Create Template.
2. Choose a source document
Your My Files browser opens. Browse or search for a document, or click Upload Media to add a new one, then select it.
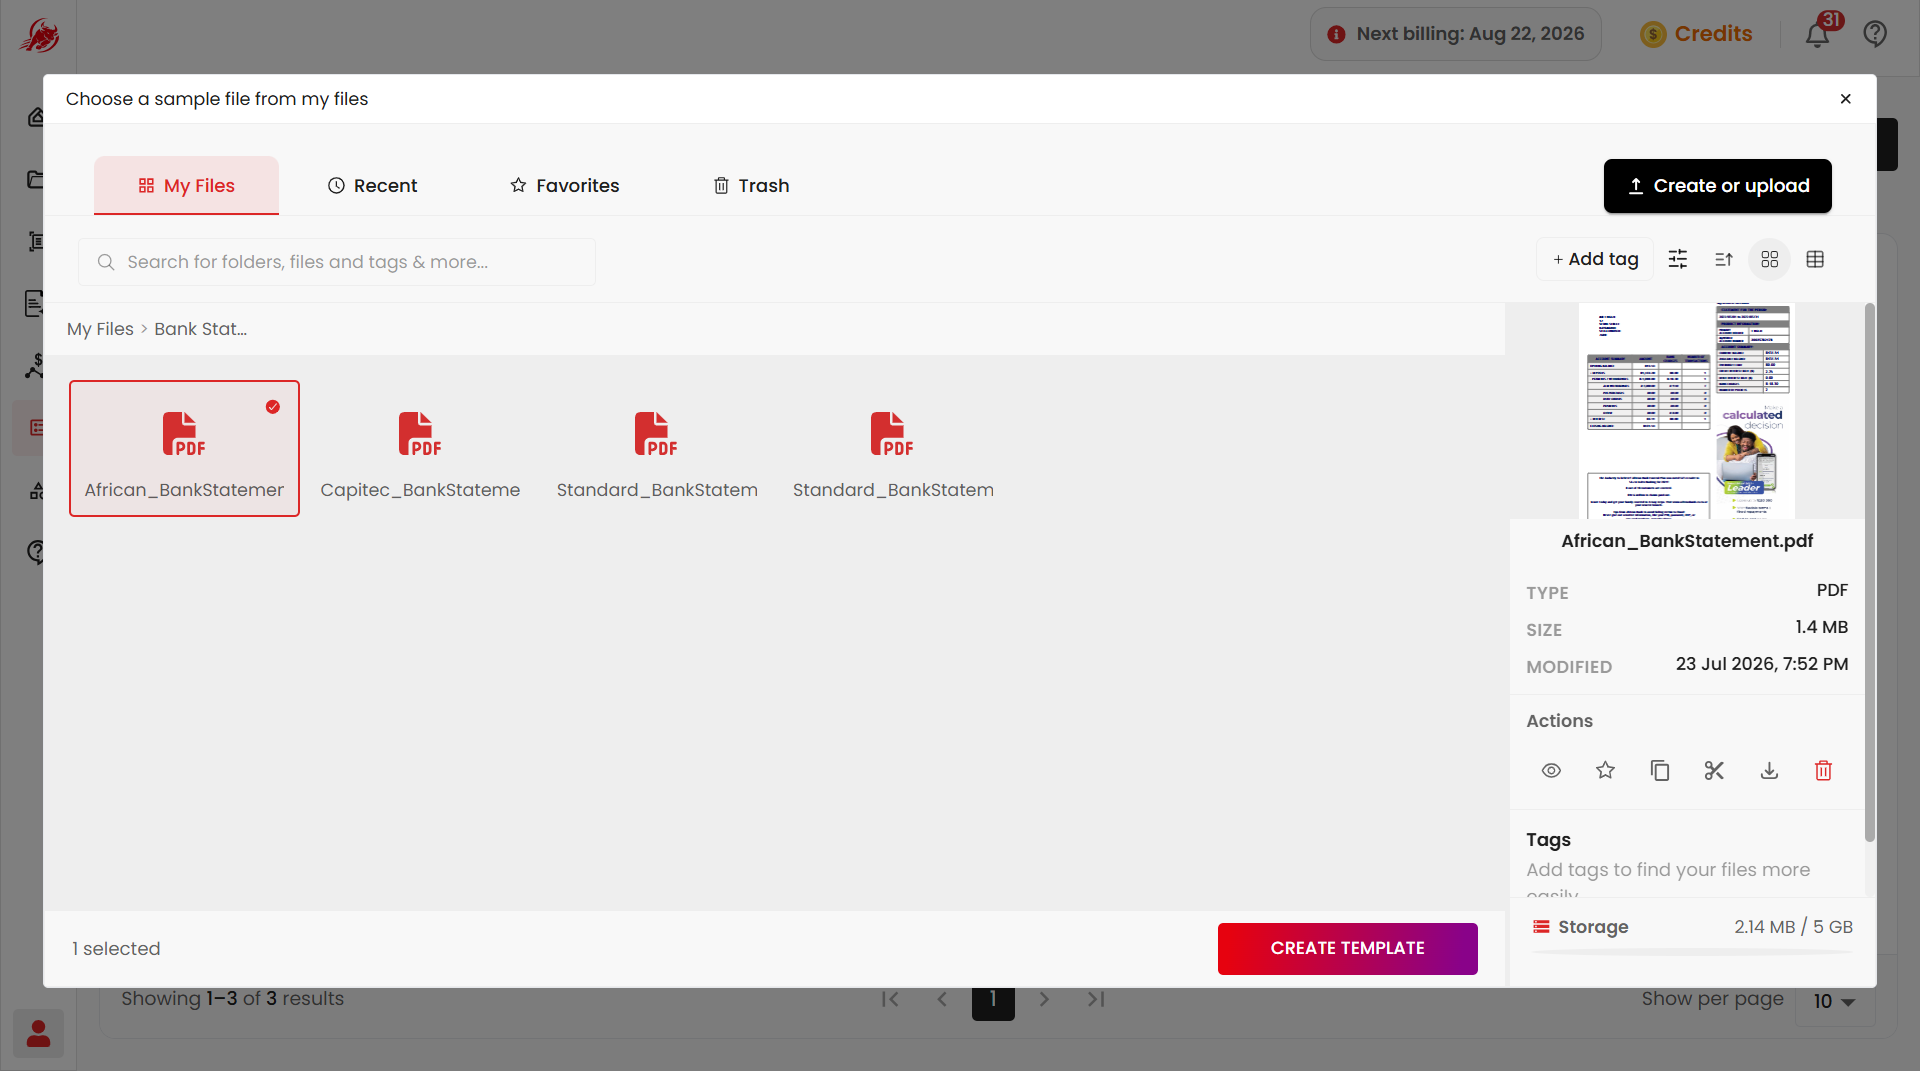
Click Create Template again to use this document as the basis for your template.
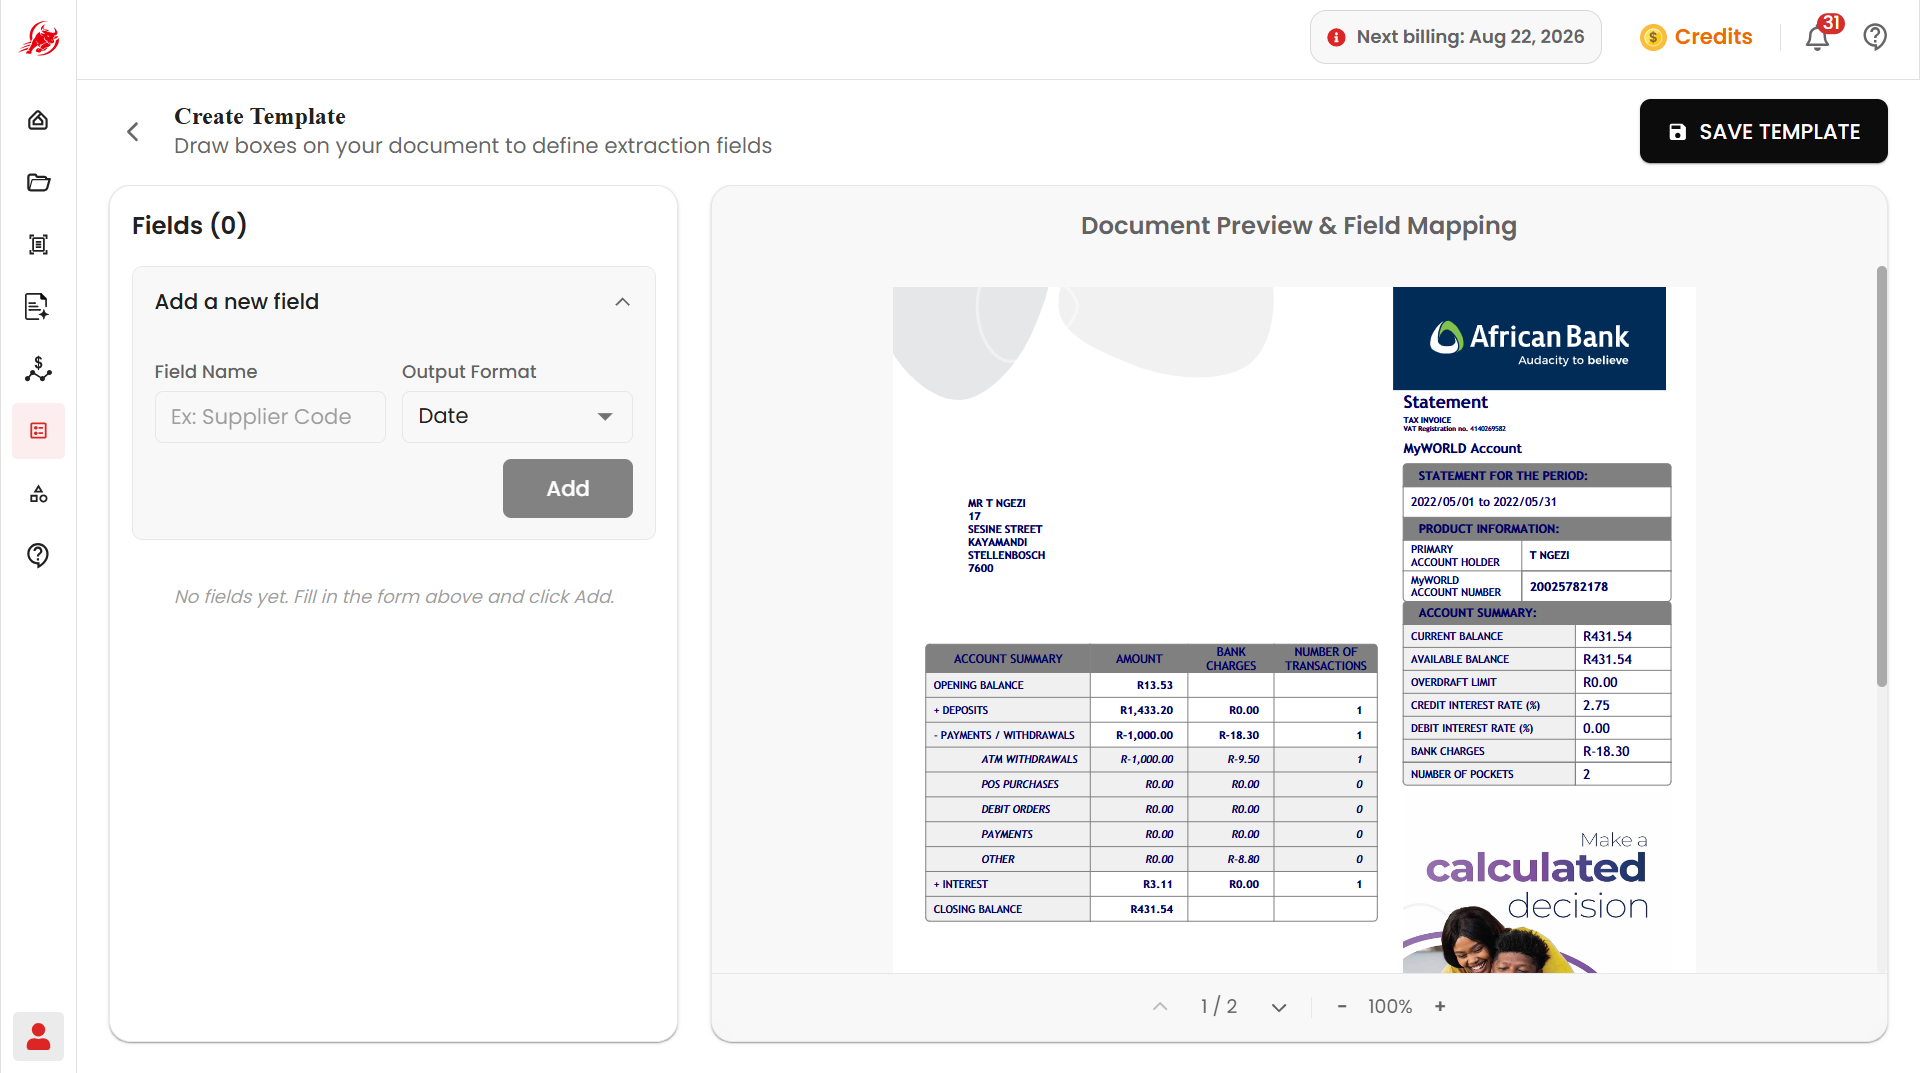
3. Get to know the Template Editor
The editor opens with three parts:
| Part | What it's for |
|---|---|
| Fields panel | Lists the fields you've created |
| Document Preview | Where you map fields onto the document |
| Save Template button | In the top-right corner |
4. Add a field
Create a field for each piece of data you want to extract — for example, Invoice Number, Supplier, Invoice Date, or Total Amount. For each field, set:
| Setting | What it does |
|---|---|
| Field name | A clear, descriptive name |
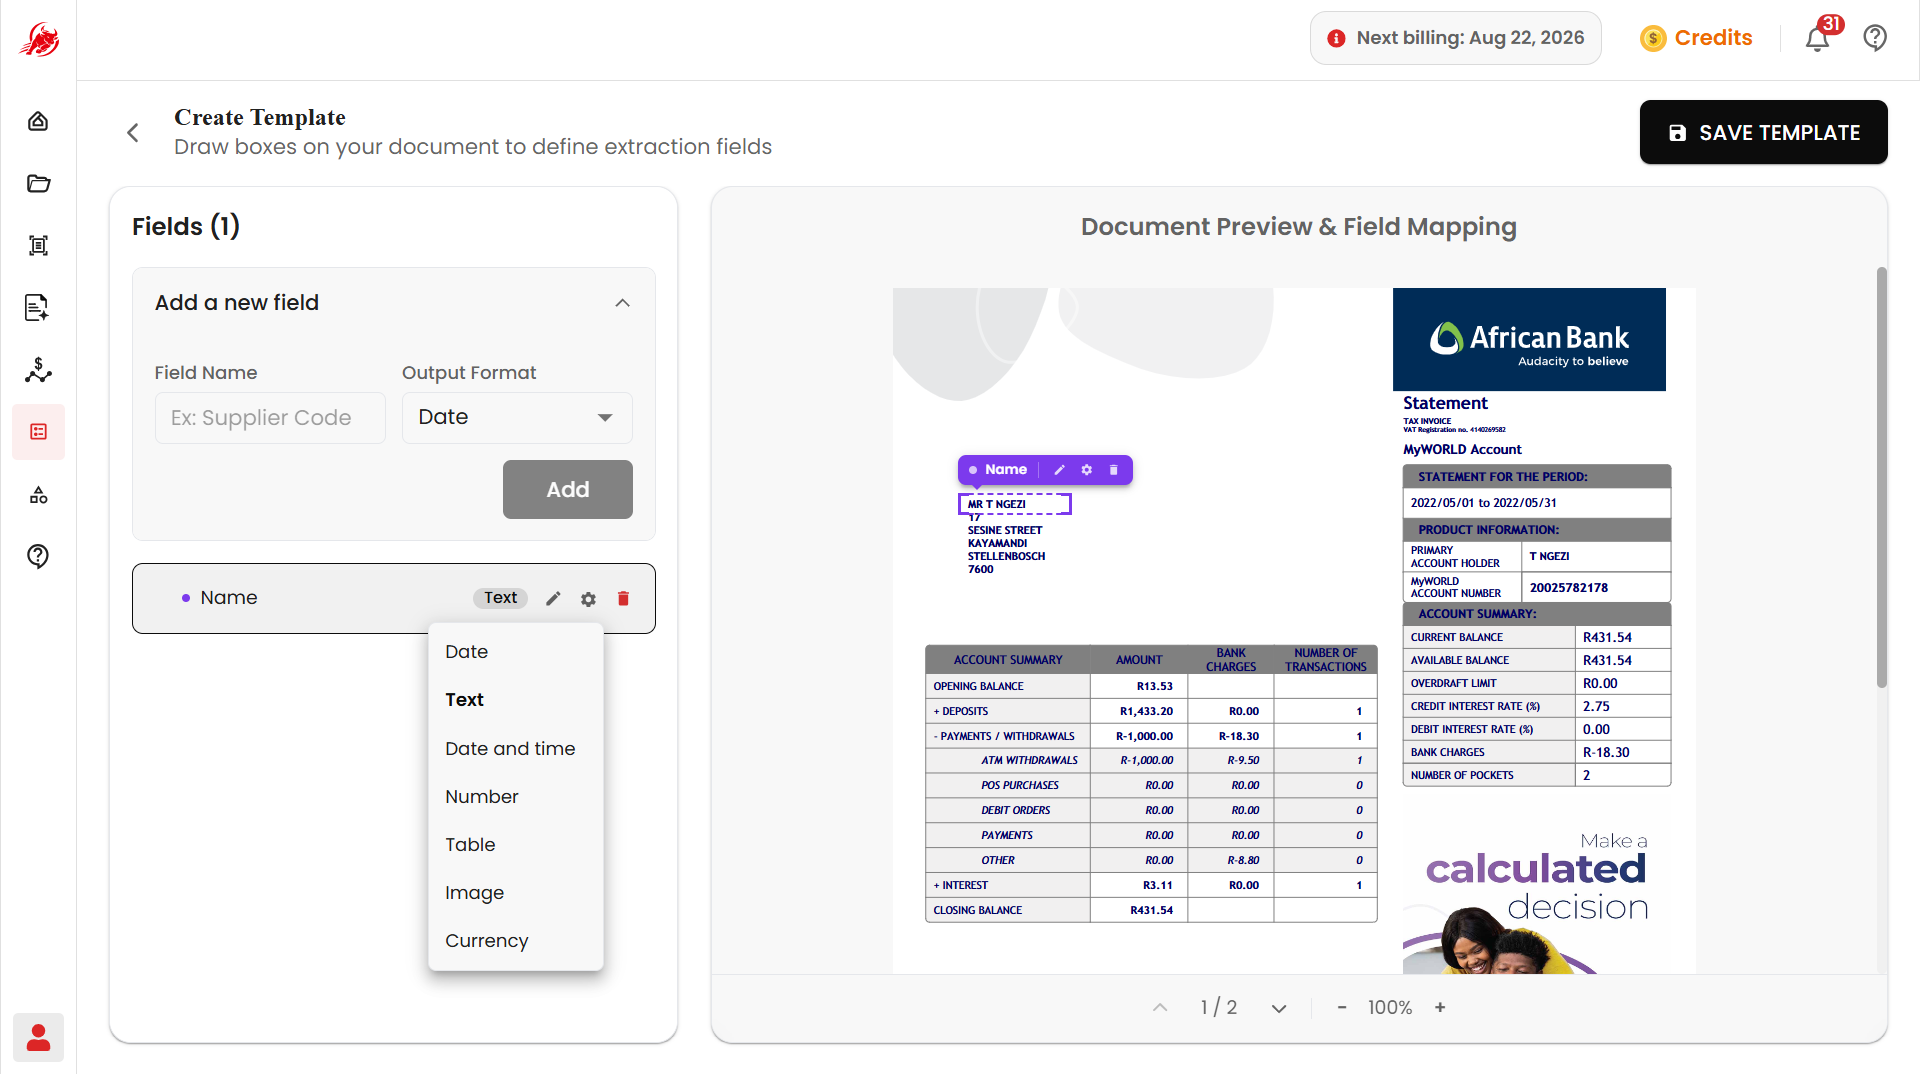
| Output format | The type of value expected, such as Text, Date, Number, Currency, Table, or Image — this tells Regoxa how to read the value correctly |
| Validation | A check that the extracted value matches its output format (for example, a Currency field must contain a monetary value) |
5. Map the field to the document
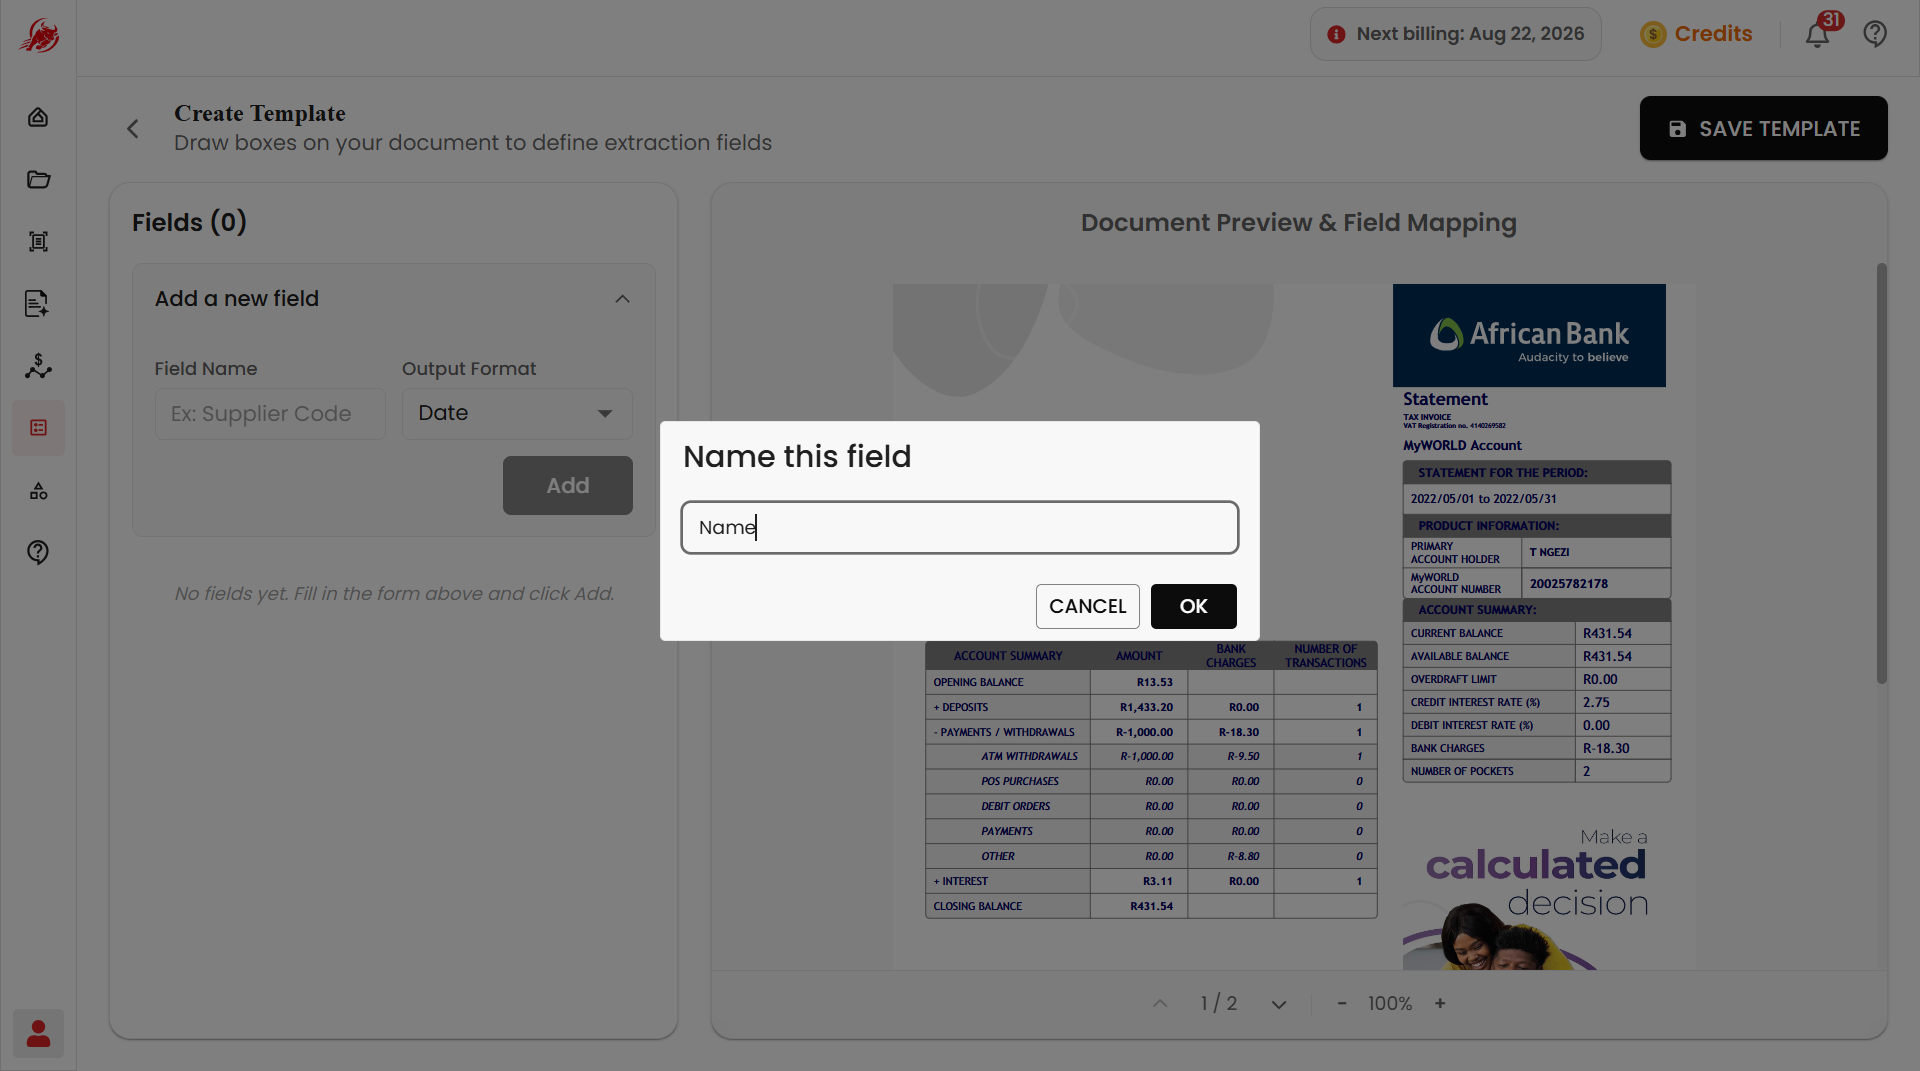
Click and drag on the document preview to draw a box around the content you want this field to capture.
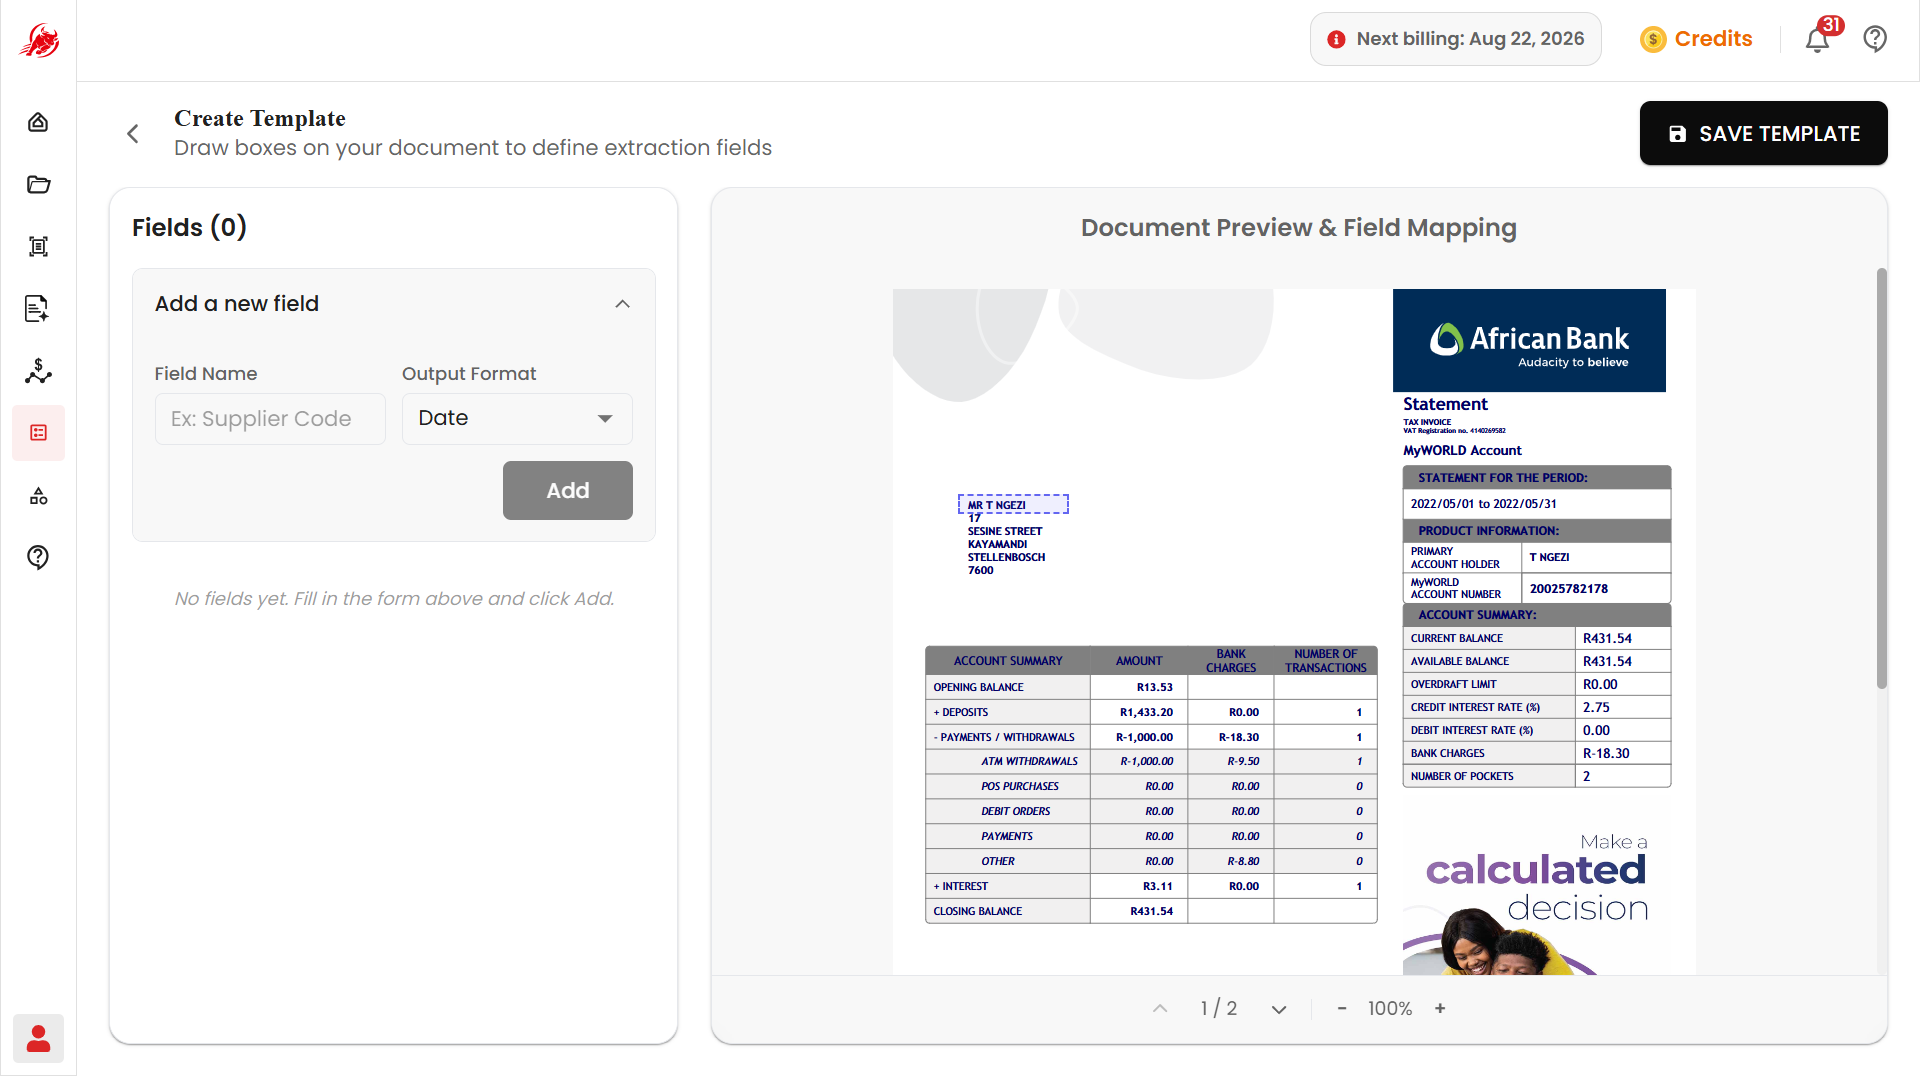
Enter the field name for that area and confirm — the field is now linked to that exact spot on the document.
6. Adjust mapped fields as needed
Select any mapped field on the preview to reposition it, resize it, rename it, change its output format, update its validation, or delete it.
7. Save the template
Click Save Template, then enter a Template Name and a Tag Name so you can find it later, and click Save.
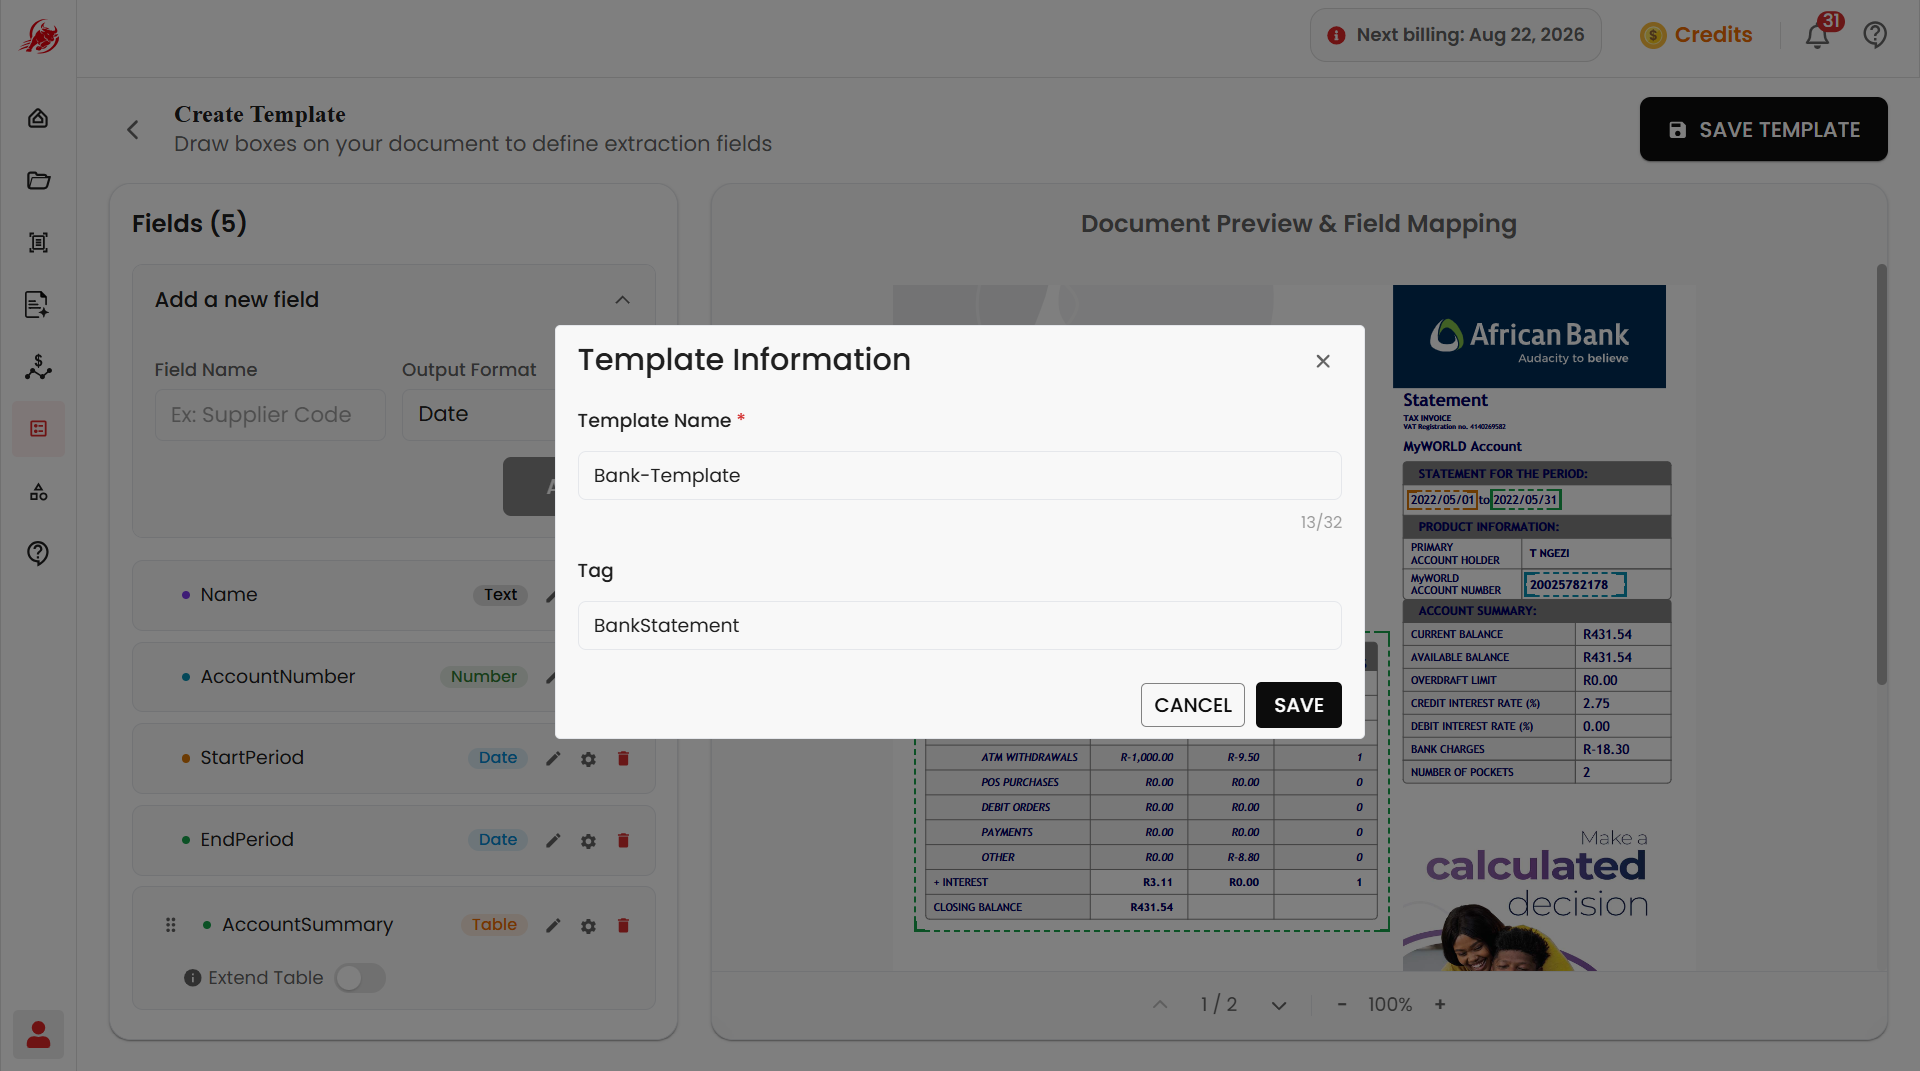
Your template is now stored and ready to use in future extractions, such as Extraction in Extractor and Mercury.
Manage existing templates
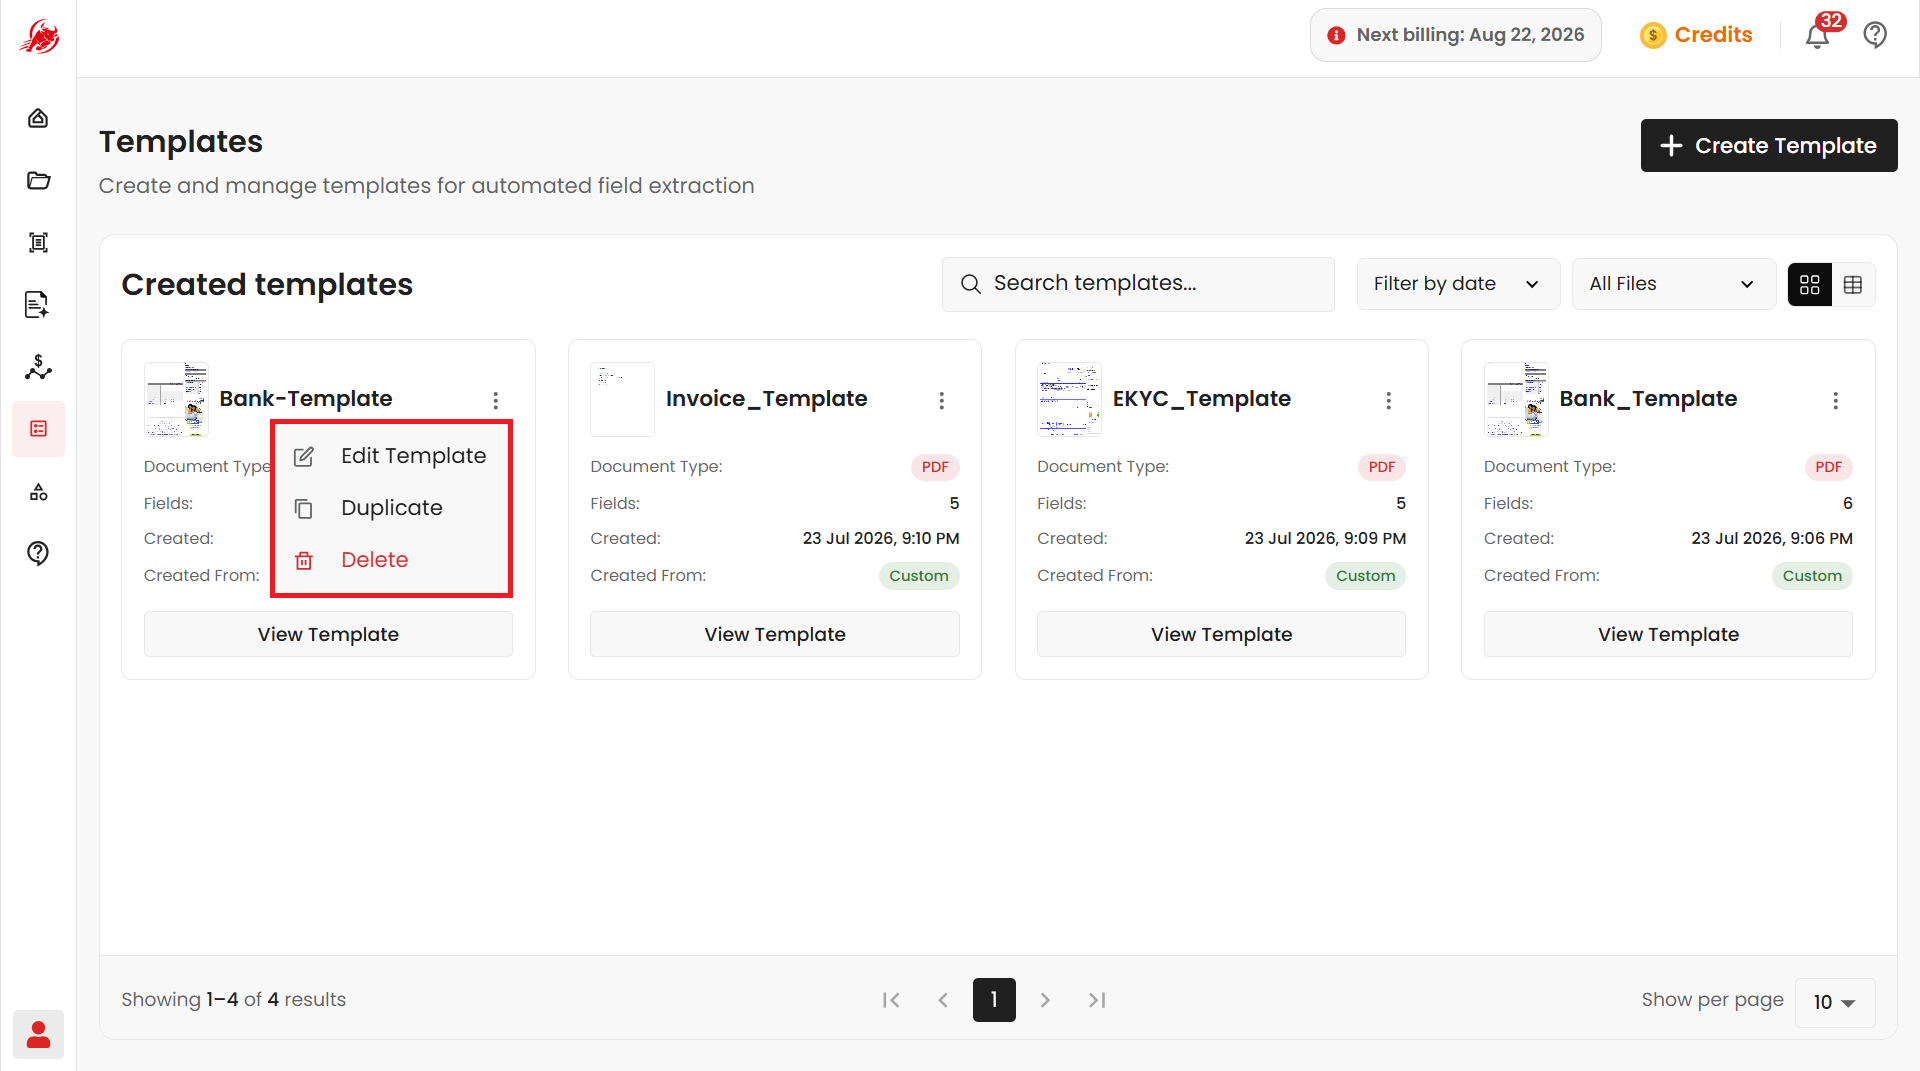
Open the Template Actions menu on any saved template to view, edit, duplicate, or delete it.